(Released) EcVh0 Skin Shader for Genesis 8 Female [Commercial]
 EcVh0
Posts: 535
Hi guys!
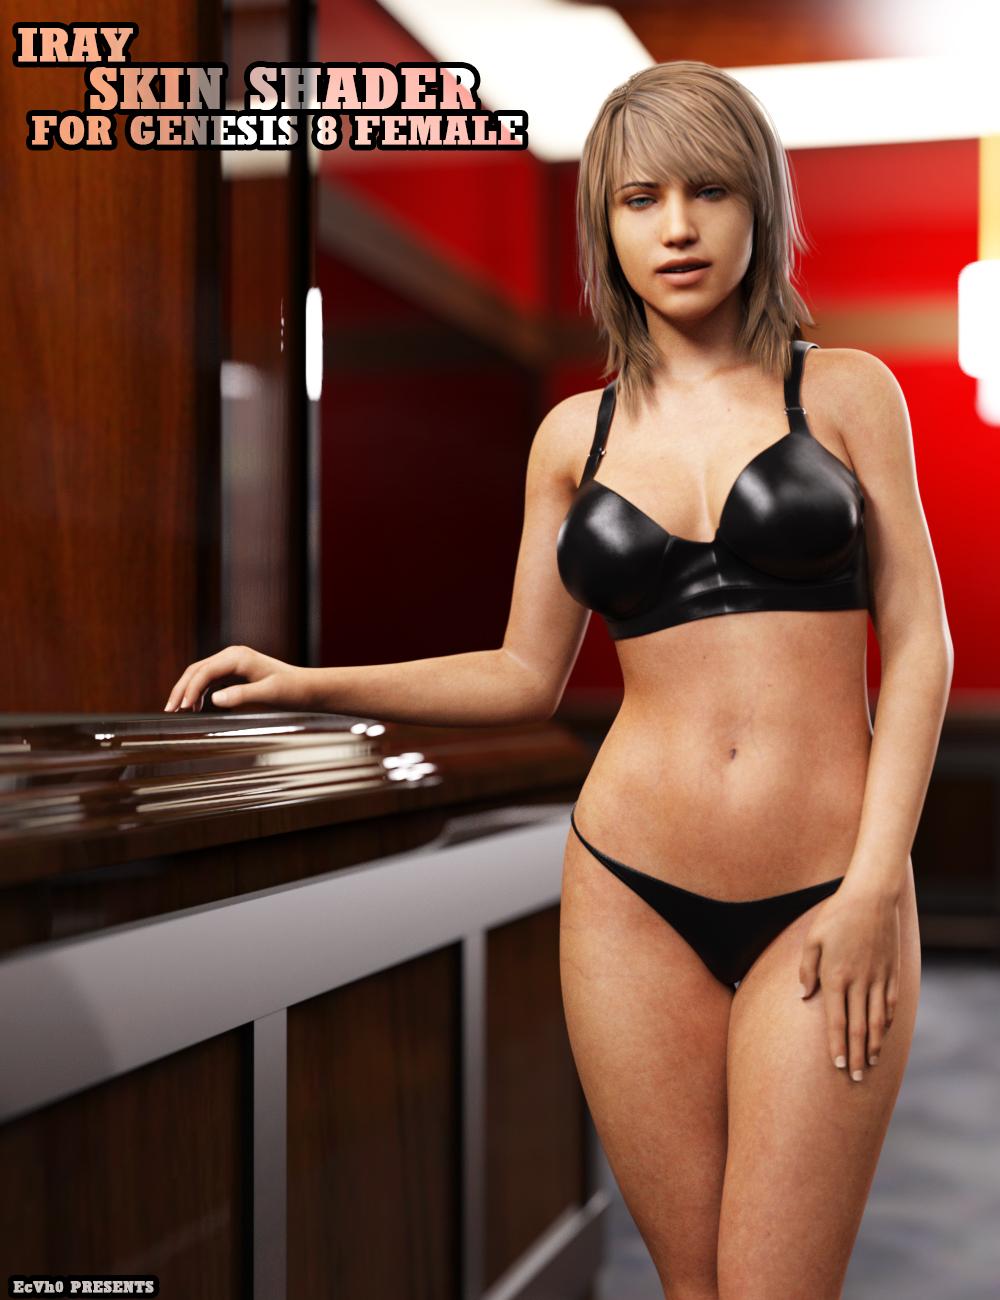
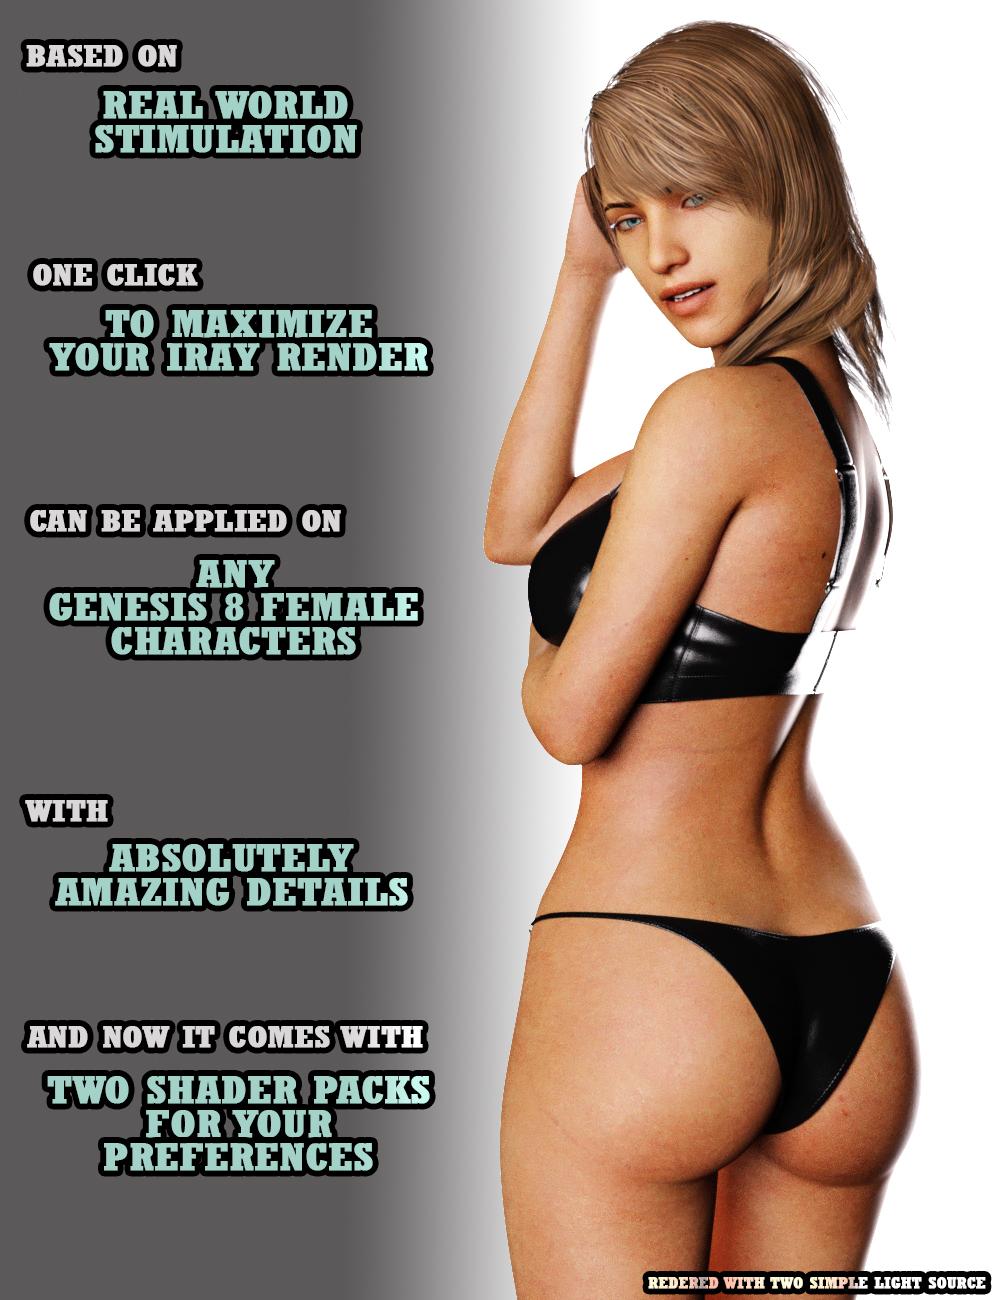
I'm back with another shot of my skin shader - EcVh0 Skin Shader for Genesis 8 female, now released!
This time it will come with two different shaders - Skin Shader Lite and Skin Shader Realistic
Skin Shader Lite is for ones who looks for fast renders with low memory and maximum realisticity, it is a improved version from the genesis 3 shaders, with additional properties included in the new version of Iray released with G8 figures
and Skin Shader Realistic is for ones who looks for maximum realisticity, using a complete new way of displaying skin details using SSS under any light conditions
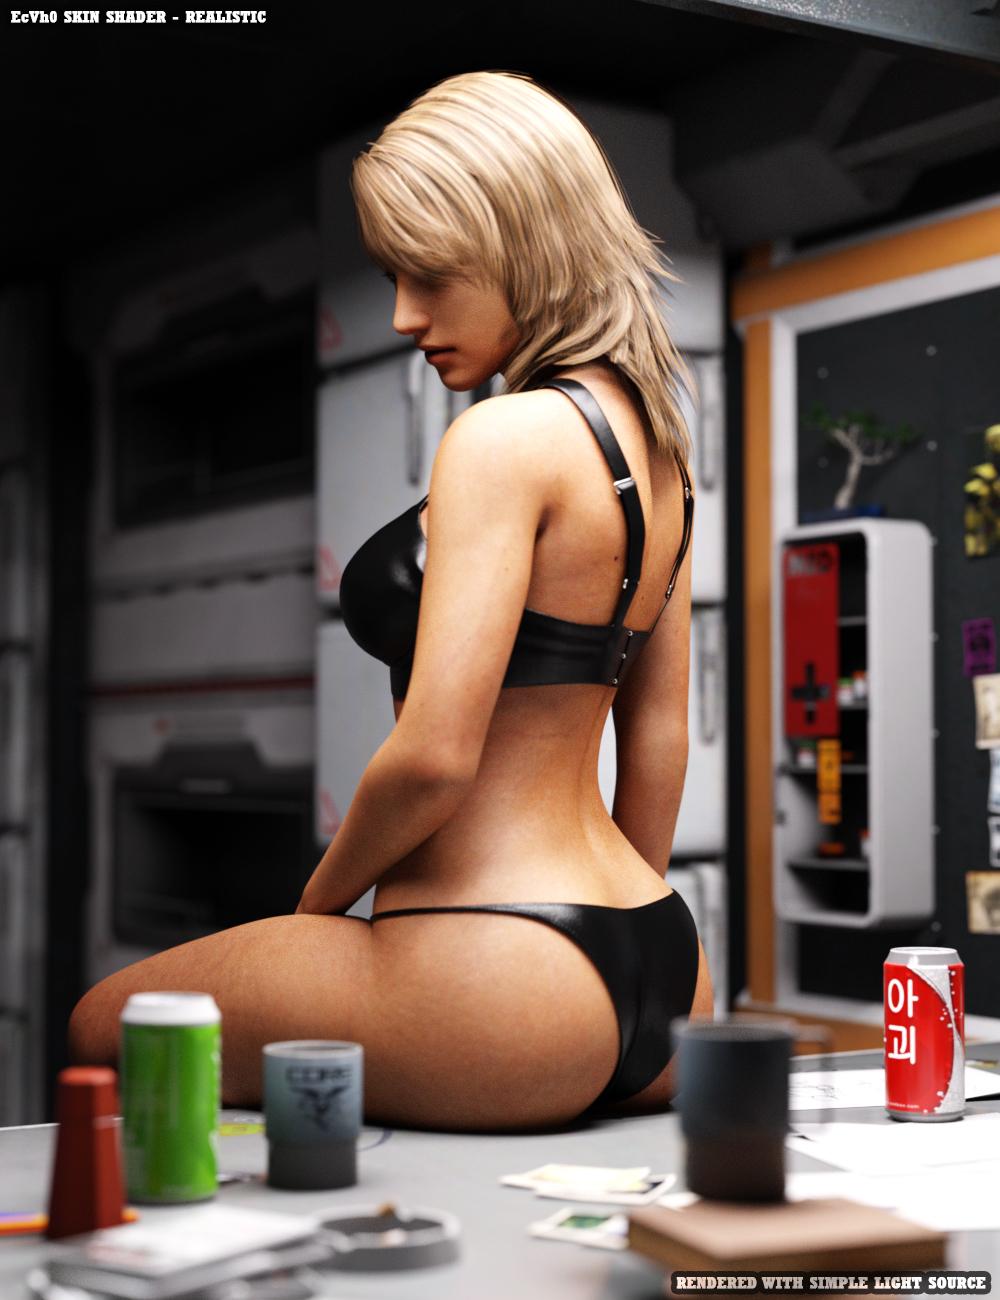
Anyways, here's some previews for ya all! Hope you enjoy and feel free to ask any questions!
How to Apply Makeup on EcVh0 Iray Skin Shader
Due to the huge change on how the skin is constructed, (by literally ditching the diffuse map), some might find their makeup no longer works on this skin shader.
Don't worry, here is a detailed fix to get your makeup back again!
First, we need to have a look at how incompatible the makeups are! Some, are a bit harder to apply than the others, you will need to goto the place where the texture of your characters are stored, in most cases it will be (Your Content Library Location)/Runtime/Textures/VendorName (or DAZ3D)/Figure Generation (Genesis 8 Female or others)/Characters/Character Name
Now, you should see a whole list of .jpg images in the folder like texture maps, bump maps etc, great! You have located your character's texture folder! Now you just need to determine if your character is which of the following:
- Texture with full LIE(Layered Image Editor) makeup: If you see a lot of transparent images with only the makeups (one of the best examples are the Victoria8's default textures), congrats you character's makeup is full LIE - which is almost fully compatible with the shader! Now to put your makeup on, you just need to do the simple steps below:
- After applying all shaders onto your character, locate the surface you want to add makeup on (usually the "face" surface) by locating it under surface tab, or clicking the surface using the surface selection tool
- Locate the texture in Translucency Color block (Should be amount the first chunk of parametters)
- Click on the texture, selected Layered Image Editor - this should start up your LIE editor with the texture loaded in it
- Locate the "+" button on the right side of the LIE editor, click and select "Add layer"
- Now you should be able to see a new layer being created on top of the old layer. Locate the "Resource" parameter right below the + button, and click to select the makeup you want to add onto the texture
- Poof! After accepting you should be able to see the makeup appear on the skin texture, position it to your likings with the position parameters under the resource parameter and hit accept
- Now you should be able to see your beautiful makeup appear on the skin! Happy Rendering!
- Makeup embeded in Textures: If you see most of your makeups are embeded into the texture itself, then we will need to do a little bit of work to get them back! You need to check the following:
- Does your character has a colored SSS map?: simply browse through the textures of your character, and look for anything named something SSS/Translucency, if your character has a colored(actually skin looking) SSS map (not the grey ones like Genesis 8 Female default SSS map) with the makeup you want, then keep on reading, this is your section
 , otherwise skip to the next!
- At here, you should have found a colored SSS map with the makeup you want in the texture folder, this is what you want to do: Check if it has the similar color to the diffuse map, or if it is similar to the SSS map from the skin Shader:
- If it is similar to the diffuse map of the character: Oops! We might need a little work here! You now need to do the following:
- Go through all skin surfaces, and replace the default SSS map from the skin shader with the character's diffuse map - now you are probably seeing an incredibly dark skin character in front of you - hold on! It's not done yet

- Select Skin-Lips-Nails surfaces from the surface tab - you should be able to see all skin related surfaces are selected.
- Scroll down the surface parameters to near bottom, and find a parameter called "Transmitted Color" with orange color next to it
- Change the transmitted color from "0.95 0.20 0.10" to "0.95 0.54 0.51"
- And now you are good to go! Happy Rendering!
- Go through all skin surfaces, and replace the default SSS map from the skin shader with the character's diffuse map - now you are probably seeing an incredibly dark skin character in front of you - hold on! It's not done yet
- If it is similar to SSS Map from the Skin Shader: Congrats! You character texture is fully compatible with the skin shader, now all you need to do, is to go through all skin surfaces, and replace the default SSS map from the skin shader with the character's SSS map, and you are good to go!
- "It's not like your SSS nor it's like the diffuse map, it's weird af and I have no idea what to do...": Don't worry! we still have other ways to add makeup onto your character - Simply find a LIE supported makeup set, or simply the V8 default set, and perform the steps above on LIE makeups and you are good to go!
- If it is similar to the diffuse map of the character: Oops! We might need a little work here! You now need to do the following:
- Here, you haven't found a proper SSS map in your character's texture set
 , but again, don't worry because we can still get your makeup back! You now need to check If your diffuse map has the similar color as the SSS map provided in the Skin Shader
- "Yes they are similar!": Congrats! Again your diffuse map is fully compatible with the skin shader SSS map, so all you need to do is to replace all SSS map in the skin surfaces with your diffuse map, and you are good to go!!
- "No they are different, they are much darker/oranger/stronger in color": Oops! We might need a little work here! You now need to do the following:
- Go through all skin surfaces, and replace the default SSS map from the skin shader with the character's diffuse map - now you are probably seeing an incredibly dark skin character in front of you - hold on! It's not done yet

- Select Skin-Lips-Nails surfaces from the surface tab - you should be able to see all skin related surfaces are selected.
- Scroll down the surface parameters to near bottom, and find a parameter called "Transmitted Color" with orange color next to it
- Change the transmitted color from "0.95 0.20 0.10" to "0.95 0.54 0.51"
- And now you are good to go! Happy Rendering!
- Go through all skin surfaces, and replace the default SSS map from the skin shader with the character's diffuse map - now you are probably seeing an incredibly dark skin character in front of you - hold on! It's not done yet
- At here, you should have found a colored SSS map with the makeup you want in the texture folder, this is what you want to do: Check if it has the similar color to the diffuse map, or if it is similar to the SSS map from the skin Shader:
- Does your character has a colored SSS map?: simply browse through the textures of your character, and look for anything named something SSS/Translucency, if your character has a colored(actually skin looking) SSS map (not the grey ones like Genesis 8 Female default SSS map) with the makeup you want, then keep on reading, this is your section
- "Dammit! None of the above fits my character, what do I do??": No panic! There is still two ways you can get your makeup back!
- Find a LIE compatible makeup: Simply dig through your character sets and find a LIE compatible makeup (transparent background with nothing but makeup), and repeat the LIE makeup step, and you are good to go! Simple and nice!
- "No I just want this particular set, this particular texture to be on my character!": Sure thing! Send me an email at stevenyang0430@gmail with the skin textures, and I will try to make you the SSS map that works perfectly and return it back to you
 ! (Note that it might take 1-2 days)
Hope this text only tutorial is easy to understand! If you don't get anything or couldn't get it to work, simply comment below and I will help you, whenever I'm not asleep! 
Happy Rendering!
Promo Images!


EcVh0


Comments
That's looking good - I will keep an eye out! Will this only work with G8 or could it be applied to previous generations?
Thank you! And haha I actually forgot to mention that! I would not put as "fully compatible" because Lite version of the shader is fully compatiable but a minor change to UV choices is needed for full compatibility on realistic shader with G3 :) There is still some last minute ideas I want to add to this shader set, hopefully on time for the release or will release as an update :)
Love your hair shader by the way! It's amazing! :D
Thanks for the extra info, and also the kind comment!
You are welcome! :)
This looks like a very nice product when should it be for sale ?
Very soon I believe! And I have one update planned for this product making it even better! :D
looks good!
are all of the promos showing the shader applied to the same skin?
j
Very nice. Should that say 'real world simulation' on the second picture? Rather than 'stimulation'.
I guesss that depends on your peripherals...
Yes, the promo images had G3F default skin with applied shader - which includes an SSS map for each part of the skin
The shader has been tested on V8 and G8 skin and I will be giving an update for a pale skin shader soon after the release :)
Thank you! Haha I never manage to distinguish these two words, I just copy pasted from my previous promos so yeah :/ I guess both works?
Pale skin addon's in the work! Heres a mini sneak peak :D
Looking good - great hair too!
Thanks for the kind word Phil! :D
I am nuts about gingers as their colors have inspired my art for quite some time and I find them compelling as a muse; so this is an insta buy from me! Oh, and do you have a texture without makeup/eyebrows, as most gingers do not have black lashes/brows...
Thank you very much! I'm glad you like it :D
Hmm! very interesting question! for lashes on G/V8 I believe you can just change it yourself fairly easily , the addon does not include a separate lashes you can feel free to edit!
As for the question for eyebrows, I don't have that much experience with gingers, do they instead have like, reddish eyebrows?
I will have a go and see if I can recreate that :D but the thing I'm sure I can do for you, is put up a detailed information on how you can edit the skin to get any effect you like the moment it's released
Oh, I asked about the face texture without brows as V8 has seperate brows, and would be much easier to add colors to that rather than the texture.
Ahh! I will have a try on that! Tho I do have a big bad history of trying to remove an element from a map XD haha!
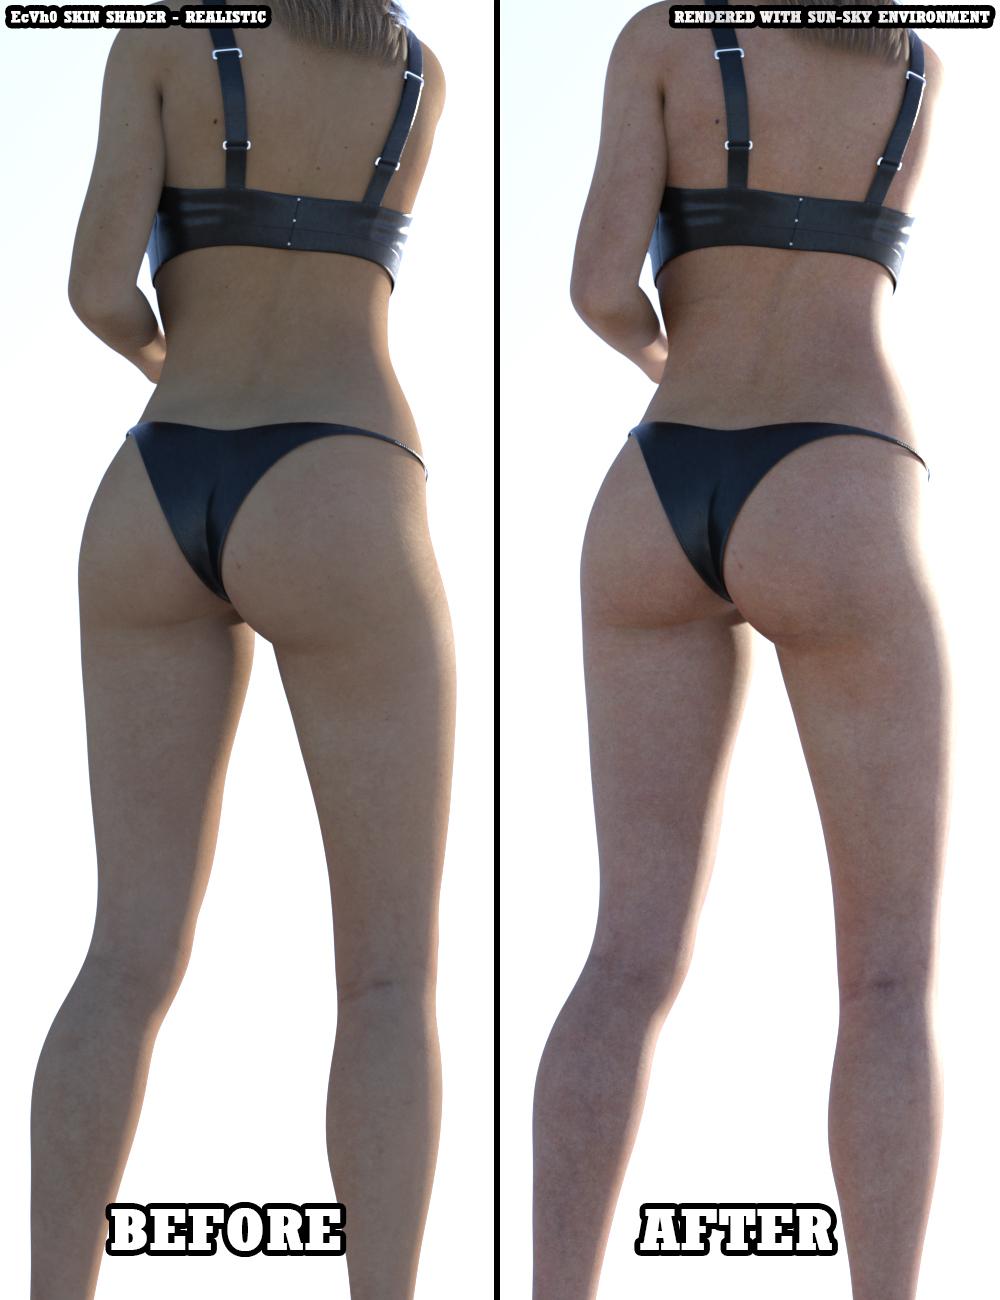
Before - after renders look confusing to me. Since images are split in half, it looks like "EcVh0 skin shader - realistic" is for before half.
Perhaps if you put "EcVh0 skin shader - realistic" on the right side of the image, under "after" part to indicate that shader is applied on that part of the image and "rendered with sun-sky environment" on the bottom in the middle of the image so that it crosses the line indicating that both sides are rendered with sun-sky environment.
Right! That's actually a much better idea :) Thanks and I apologize for that!
Oh, wait, I just remembered that I have zev0's brow remover, so there's really no need after all! I have so many tools from him and the late great D3D/DraagonStorm that I forget sometimes, that, and my well over 2TB bloated content folder!
So this will work on g3f Skins applied to Genesis 8 or just the characters currently released for Genesis 8 female?
It should totally be able to work, might need to change one settings I put up above in the "how to put up makeup" massive chunk of text (sorry about that!)
in fact, it should even work when G3 figures given the right UV is selected (say change from V7 to base female)
Worst case if it doesn't, simply send me your texture and I will make it work for you ;)
Ok sold, lol thank you as well fo the fast response :) all your others are going on my wishlist too :)
Thank you! Let me know how it goes! :D
Got a pale skin shader coming up soon so better save your wallet
Is this suppose to replace our current texture? When I apply it and render it my character renders with this skin the details of their other skin is gone :/
It does have a default texture attached to it, so if you wish to keep your own texture, you might need to do one of the following:
If your character has a colored SSS map and it has similar color to the default SSS map, simply throw that one in
If not, simply throw your diffuse map into translucency slot with transmitted color changed to 0.95 0.54 0.51 :)
I'll try it when I get home :) hopefully the added realism will still be visible unless it's just in the included texture :/
Hmm, the shader will show the details on your texture map, it will be a different type of detail but if you have a good texture map I'm sure it will look just as great!
If you want to mix your texture up with the details of mine, send me the texture and I will mix it up for you
Ok :) can't wait to try it out I was trying to use it on a facegen texture, pretty 3d's new pretty base textures, and vyk raine