Kaleidoscope [Commercial]
 Marshian
Posts: 1,465
Kaleidoscope was so much fun to develop and so quick to render. The proof is in the promo images- I created over 20 of them.
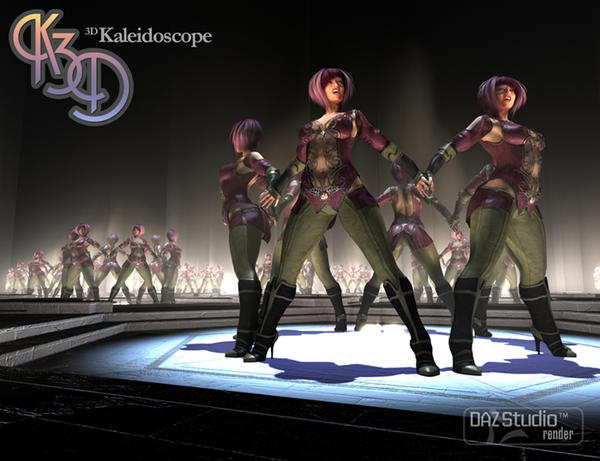
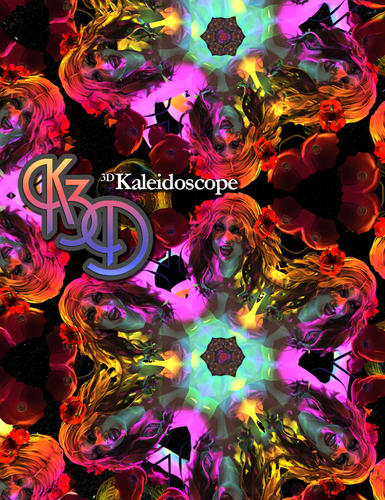
Kaleidoscope is a collection of mirrored props, with a variety of sides and angles, that multiply scene objects to create beautiful patterns and expansive scenes. Go beyond the limits of real Kaleidoscopes by putting figures, objects and whole environments inside the prop!
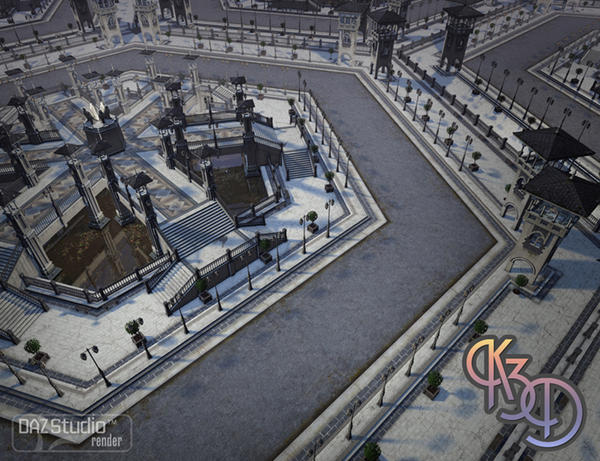
Where can it be used? The props are pre-scaled. Any size scene from a single figure to a city and you could go even larger.
Render dazzling faceted images just as with a traditional Kaleidoscope and go further to create infinite drops, tunnels, streets, and hallways with depth! Even though your scene inside Kaleidoscope may be small, haze cameras continue to build up atmosphere as the reflections multiply.
Easily change the configuration of your favorite props and environments by bending reflections with all of the different Kaleidoscope angles.
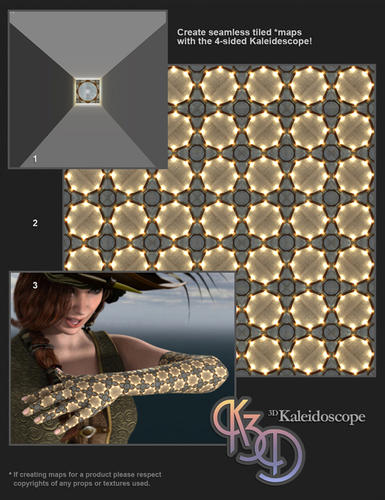
Render seamless tiled maps with the 4-sided Kaleidoscope and create like a kid again with 3D magic at your fingertips!
Full PDF Tutorial Included
___________
I'd love to see your renders posted here.
Let me know if you have any questions.






Comments
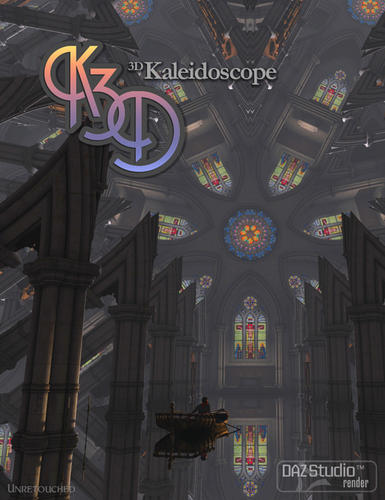
One of the promos that didn't make it to the store page. I really liked the quiet mood of this one but it didn't have the BANG I wanted for the store.
Once again your promos are a-maze-ing! Great looking product.
I’m definitely interested in buying this but if it’s shader based and will it work with the iRAY renderer? Maybe I’m misunderstanding but do shader based products need to be compatible with iRAY for them to work?
Thanks for working on such a fun product- can hardly wait to try it. Your promo images were varied and really gave me a great feel for what the product can do. :)
Thank you Khory! I made so many- this product is fully tested as a result.
That's a valid question for sure. This product uses a default shader. A post in the PA forum says these shaders still work.
Wow. An instant purchase with so many possible applications. This would be worth buying just for the potential for expanding city and landscapes, but the idea of using it to create new texture tiles is brilliant.
That's a valid question for sure. This product uses a default shader. A post in the PA forum says these shaders still work.
That's great news! When I saw this product it reminded me of the scene in Inception when the buildings fold over.
http://www.moviesonline.ca/wp-content/uploads/2010/10/Inception-Movie.jpg
http://visualcultureblog.com/wp-content/uploads/2011/11/Inception-and-Google-Street-View.jpg
This looks like great fun - some of the examples in the Tutorial pdf are amazing - I'm definitely going to add this one to the cart this evening!
One other question, will your other products be compatible with iRAY too? I currently use Octane Render so I've always held off buying lighting products for DS because they're not compatible but now that we have iRAY I'm really excited that these products might work with it.
That's great news! When I saw this product it reminded me of the scene in Inception when the buildings fold over.
http://www.moviesonline.ca/wp-content/uploads/2010/10/Inception-Movie.jpg
http://visualcultureblog.com/wp-content/uploads/2011/11/Inception-and-Google-Street-View.jpg
Ya know I was thinking about those visuals too, how cool! The folding buildings could be achieved by placing one of the city-sized 5 or 8 sided props on it's side. I didn't think about this until now but it could be used for a ring-based city in space- Elysium.
Hi Superdog- All of my products use D|S default shaders and lights and my new ones will too. I know very little about Octane and as this iRAY topic is so new I know very little about that. I have been skimming the forum this morning and it still appears my current and future products are fine.
A quote from the main post: “Default Lights and Shaders” have not been updated beyond what is already currently available."
Any chance of a more in depth tutorial, because I've read the pdf and still don't have a clue as to what I have to do.
That's a valid question for sure. This product uses a default shader. A post in the PA forum says these shaders still work.
The no-reflection probably wouldn't work, though, since Iray insists on being realistic. It would, of course, be possible to composite two renders.
Hi Wendy,
That tutorial is it. From this point on I can give suggestions if there is some specific image or effect you are trying to achieve or we can troubleshoot if you're having a problem.
Quick Start:
Load one of the room-sized props into a scene you have already created (with camera inside the prop).
Or
Load a figure-sized prop and use the camera it's parented to.
....make sure you use one of the render settings and your main elements are inside the prop and hit render.
I was really surprised at how easy this was to plug in and experiment with. I believe you'll get the hang of it quickly.
The no-reflection probably wouldn't work, though, since Iray insists on being realistic. It would, of course, be possible to composite two renders.
I'm not sure about this except to add that the No-Relfection Preset is an Ubersurface setting and therefore part of the Default Shaders which are supposed to work.
The no-reflection probably wouldn't work, though, since Iray insists on being realistic. It would, of course, be possible to composite two renders.
Would that prevent some of the effects in the promo images from working? I wish there was a thread that explained which products are compatible with iRAY and also what features aren't. I know iRAY is a very new development and there's a lot to sort out but if anyone has the time and knowledge to create a thread like that it would be very welcome.
I'm reluctant to buy lighting and shader products now because of the risk of incompatibility. Maybe if we knew that these products will get an upgrade to iRAY compatibility rather than having to buy the iRAY version all over again then I'd buy with more confidence. That's a general comment not directed at any one developer.
As far as I can see the only thing that depends on being able to make an item invisible to reflection is the no reflection shader preset, used to hide figures in all but direct view. The props and reflections should work as normal.
Folded City here with a screen cap of the set up. The four sided prop ended up doing the trick.
This whole scene including set up and render time took about an hour.
Great stuff! Now all we need is for DAZ to release a G2M De Caprio lookylikey!
GOT IT!!! Been working with mirrors and kaleidoscopes for years. Ya beat me to the packaging (sighs)... oh well... anyway... Thought you all would enjoy a render I made today. It was easy peasy! ENJOY!
"Valley of the Tombs"
Thank You Llola Lane! I wondered why no one had done this before. Finding the right material settings took some time but each step brought me closer. The ideas just kept unfolding.
Nice depth on your image, it really makes the space feel intimate. Thanks for posting.
You are most welcome Marshian... I'm a big fan of mirrors and kaleidoscopes..and yes.. DOF... I must say you've sparked a fire under me even more... I did some renders a few years back .. it would be fun to maybe work together on some ideas.. I've got oodles of test renders. We may both come up with some new ideas... winks Give me a haller if you'd like to see some of the other things I've been working on :) Well done with the kit.. love the prims. Hugzzzzzz to you!
Wow amazing. I can see a lot of uses for this. The name reminds me of those toys I had as a kid where I look in and see these unusual but cool images.
Here is a test using Skull Cove docked boat... including result and the preview. I ran this in DAZ Studio 4.8 with 3Delight. For kicks I tried a render with Iray but it only rendered the preview part with no reflections... I canceled it. Could be the shader for Iray many need tinkering or more likely something I messed up.
Hi MrPoser- so good to see this- interesting use of the prop to duplicate the walkway and bend a section of the hut into a complete shape. Thanks for posting and giving Iray a test.
This just looks so damn cool for its ability to create a dreamy, infinite feel to sets that I just had to purchase it. Like wilmap, though, I've read the tutorial a few times, and I'm still baffled.
Can someone please give me a step-by-step walkthrough of what I'm supposed to do? Do I shade the included props as "reflections on" to make them mirrors, or are they already reflective? [I'm just getting black walls instead of reflective surfaces.] Do I shade all scene elements "reflections on" if I want them to reflect and "reflections off" if I want them to remain single? At what point do I apply the render settings? What's the meaning of life? Where's the beef? :p
--MW
Hi ModernWizard! Thank you!
I'm glad to help and will have you rendering in no time.
The props are pre-scaled based on the size of your scene.
So if you are creating a new scene or working with an old one you'll follow these same steps-
1.If your scene is roughly the size of a figure use one of the figure props. The parented camera is in the perfect position to render your scene from above or you can reposition the camera however you like. This prop/camera set up is closest to a real kaleidoscope so it's my suggestion on where to start. From there you can move the camera if you like- I think of it as driving it around the scene.
If you want to start with something a little more challenging than the figure prop:
For increasingly larger scenes- choose a larger prop. These larger props have a lot more room to move your cameras around inside. Some of the Kaleidoscope prop will need to be in camera view and to make this easier- let's try the camera pointing down into the scene like looking down a well. Just so that you're not "looking up" and/or over the edge of the prop.
2.Make sure all of the props figures, etc that you want in your render are inside the Kaleidoscope. Except for a skydome, ceiling, floor, or back drop. The Kaleidoscope props have open ends and depending on camera angles or how the prop is scaled from default these background elements will reflect inside.
3. Choose a render setting (you must do this), the Default was used for almost all of the promo images. By default the render settings are set to 1,000 x 1,000 pixels and a shading rate of .20. You can change this without affecting the Kaleidoscopes ability to reflect.
4. Render. If you find there is a prop or figure in your scene that you do not want to reflect select it (Scene & Surfaces tab) and apply the "reflections off" shader. In your next test render you'll find out right away if you had all surfaces selected or not. What you should see is only one of these props or figures in your scene. Everything else will be multiplied.
5. Experiment, have fun. You'll get the hang of this quickly and after a little while read the tutorial again. All I'm asking is that you start playing, jump in!
TIPS:
Use Aux Viewport IPR to test render until you get some good results. They should render pretty fast unless you have a character with SSS.
You don't have to be specific about lighting.
You don't have to use the "reflections on" shader, all items will reflect they way they should be default. In the tutorial I mentioned that this is only if you need to bring back the reflections of an object after having hid them. This shader makes that easy but it would be best to use that items default materials to return reflections as this shader can slightly affect other surface qualities.
The attached image below is a real-world version of this prop. There is only one real cat and it's almost sandwiched between a mirrored door and a wall with a mirror. It is a tight space and this will be one of your main challenges so use some wide angles on your cam.
Let me know if you get stuck anywhere. Have to go....It's 8pm here in Georgia and my wife is waiting for me in front of the fire to watch Sherlock but tomorrow and then on out I'll be watching this thread.
Thank you, marshian, for your prompt reply and clear list of instructions. This really helped.
I think my problem was that I didn't recognize the need to fill up the entire scene [even if just with ground plane and sky dome] so that there would be something to reflect besides just the points of interest. I had black space in early attempts because I hadn't filled up my scene with sky dome and ground plane. Thus the mirrors didn't have much to reflect.
I finally dropped in a bit of danie and marforno's Tranquility Lane, then surrounded it with the skydome and ground from Dreamland Models' 81 City Blocks. I used one of your pentagonal Kaleidoscope props and rendered, just to see if I would get some cool reflections. I did! [Not shown because it's just a draft render, nothing special.]
I haven't achieved a dreamy, infinite cemetery of solitude yet, but your instructions have helped. I'm definitely getting reflections and promising results, so I feel much more enthusiastic about playing with this new product over the weekend. If you can do all those nifty, endless-seeming effects with your tools, I can learn to do something similar...
--MW
A few more helpful RENDER hints... besides what marshian said....
Make sure that you have a SHADING RATE of .20 (that's point 20... not 20) or even .10... the default is 1 and you get blurry reflections. I found that out earlier. It takes longer for the scene to render... but you will get crystal clear reflections...
Also... make sure your MAX RAY TRACE DEPTH is at least 8... You will get more reflections in reflections in reflections... etc... lower numbers don't give you that INFINITY look you may want. I played with it at 2 and only got 1 close reflection and no distant ones til I upped the number past 8.
Lastly... play with DOF (depth of field)... It gives the eye something to focus on and the render will look more realistic.
fyi... I only used one (1) light in my cemetery render... the UBERenvironment2 (set at 100 percent brightness)... I plan on playing with other lighting techniques this weekend. ;)
The presets marshian included are wonderful... but if you want to experiment... Mine will help too. ;)
Hope you don't mind my 2cents Marshian :)