Adding to Cart…

Licensing Agreement | Terms of Service | Privacy Policy | EULA
© 2025 Daz Productions Inc. All Rights Reserved.You currently have no notifications.

Licensing Agreement | Terms of Service | Privacy Policy | EULA
© 2025 Daz Productions Inc. All Rights Reserved.
Comments
It will definately affect the quality of the wrinkles. I will try to get some comparison renders done in next couple of days. Of course you are welcome to download the tif file and test as well.
Often Daz Studio will actually use a lower surface SubD value than what the user specifies, if it deems the specified subD to generate too much geometry. Check the log file for messages to that effect. You probably aren't actually getting the 20 you think you are using.
Ok, I will check that. I have not tried stepping it up level by level to see the differences. It may stop being noticeable after a certain point but one thing I can say is that 20 looks good to me and doesn't seem to slow my renders but I am interested to see what is needed to get the look desired. I am pretty sure I have only tested with 1,7, 10 before jumping it to 20 and left it at that with the result that I got.
UPDATE*
Excellent catch @barbult...It would appear that the SubD is being capped around 5. In the comparison image I have attached I cannot notice any discernable difference after SubD5 for the displacement map. Thanks for pointing this out!
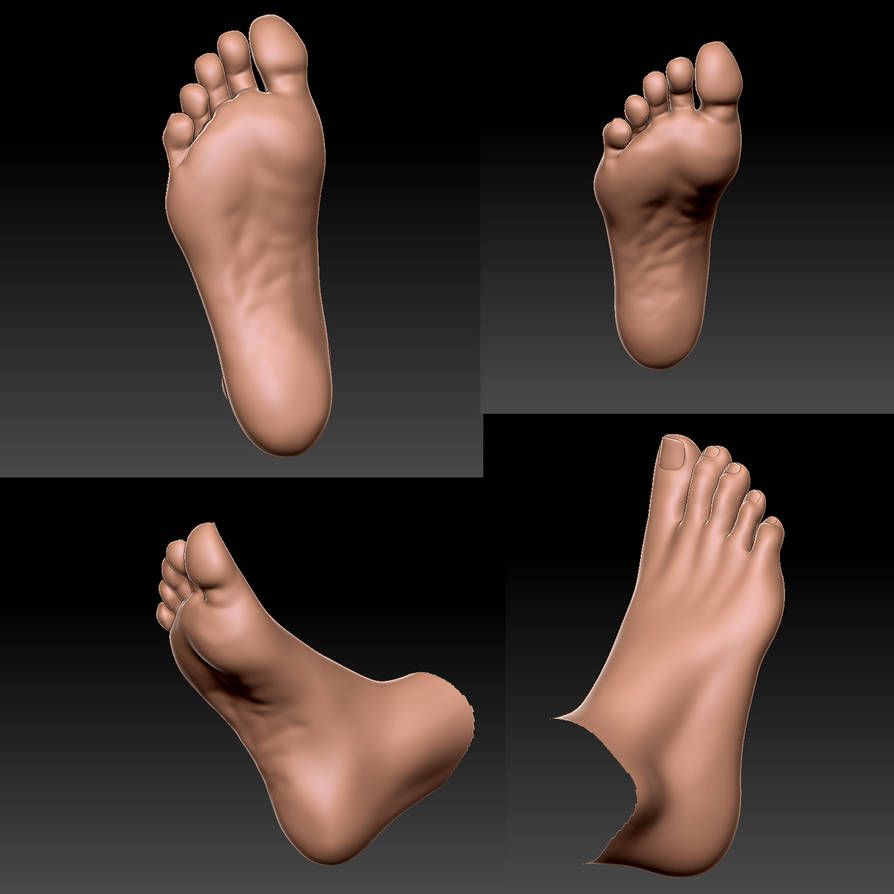
I made a little bit of progress on this endeavor, this is with an original model of mine.

I do have an update on some future projects I'm working on however.
This was achieved using displacement and Normal maps, there are still limitations. Click the link below the picture to see the gif.
that's pretty amazing, necriseye.
i wouldn't have guessed you could get that kind of apparent skin flexion with maps.
cool stuff.
j
That looks incredible.
Yes I was using mcasual's animated image script for this, it's very simple and very handy for a situation like this. The only problem is that you can't really use multiple maps at once on the same model so having a detailed map on the foot while also using a scrunch map is next to impossible. I managed to do some trickery with the top coat layer but it just doesn't come out as clear. This method is still great for still though.
Take my money lol...
Sorry. The link isn't working anymore. Thanks for sharing your work, however.
As far as the subject of this thread is concerned, has anyone checked these products out?
Real Feet 2 for G8F
Wrinkled Soles for G3F & G8F
Sweet Feet for G8F
Sorry about that, fixed the link it should be working now.
I checked these out before, wasn't really what I was looking for. They definitely change how the feet look but the soles still look unimpressive.
The top of the feet definitely get too much attention vs the bottoms.
OUTSTANDING WORK!!!
Please tell me you're planning on selling this as a morph, soon.
Thanks, for investing your time and talent, and for fixing the link.
Hi There!
Just bought Real Feet for Genesis 3 Female from Ion.
Package comes with 2 folders, data and People.
Somebody know how to install?
Regards
your main daz studio content directory should already have a 'data' and a 'People' folder in it.
your content directory 'data' and 'People' folders and your real feet 'data' and 'People' folders both have other subfolders nested inside them. what you want to do is place the new folders and files in the right places in your main directory--aka in the right paths--without overwriting anything.
there are at least two ways you can do this.
one: if you drag the 'data' and 'People' folders from the real feet package onto your main content directory folder, your OS should ask you if you want to *merge* the new stuff into the existing directory structure. you do.
IMPORTANT NOTE! if your OS asks you if you want to *replace* your existing 'data' and 'People' folders with the new ones, click NO and cancel. or you will have to reinstall every single product you own.
two: you can also place the new content in the correct subfolders manually, and some people do. this involves paying attention to the way the product subfolders are nested, and then clicking through your base directory subfolders in way that matches that. when you finally get to a subfolder in your product that doesn't already exist in your base directory, it's safe to just drag that product folder into your base directory at that matching location.
hope that made sense. good luck--
j
While I agree with you about Genesis 8 feet needing work, I find that I get better results than I did with Genesis 3. Still, some of the abnormalities of the soles cause a lot to be desired, but that is something I expect won't improve much until Genesis 9.
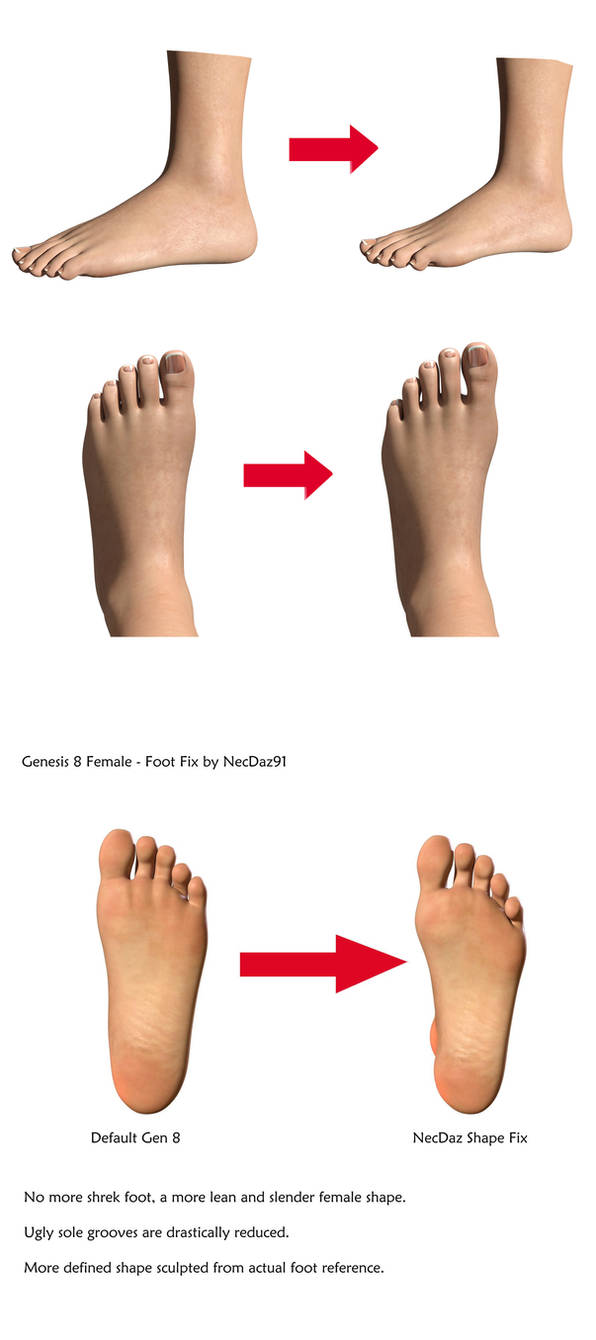
Yea about that... I've been working on a little somethin somethin for genesis 8...

It's not perfect, I still need to add some levels of detail before I'm satisfied but. Overall the shape completely fixes the
problems that genesis 8 feet are plagued with.
"It's not perfect, I still need to add some levels of detail before I'm satisfied but. Overall the shape completely fixes the problems that genesis 8 feet are plagued with."
Awesome work. Thanks for doing it. Looking forward to making use of it.
Hello guys, my name is Andrea and I'm new here on the forum, I congratulate the author of the post because he did an exceptional job and I also wanted some information about it, I'm trying to add his map of the feet but not I can in no way have the same result. I can't understand where I'm wrong, I'm using genesis 3 both as a factory model and as Gwenneli by Kayleyss but I have no results, every time I try to use the same settings my feet are completely deformed. Can you explain in detail each step I need to use step by step? Do I have to start by loading the Gwenneli font right away or can I also use another character? Please help me because I have been testing for a week but I can't solve it in any way. I'm practically using the map you created with the settings that are listed in the post but my results are completely different! I leave a screen attached to you to realize the situation, I'm using Gwenneli with iray all maps and foot map loaded at -1 and .1 because if I try to raise the levels for example to -2 .2 -3 .3 -4 .4 -5 .5 feet deform completely, I don't know how to do it anymore
Well it's not perfect but I've released a morph to fix the issues, you can purchase it from my deviantart account:

https://www.deviantart.com/necdaz91/art/Daz3D-Genesis-8-Requested-Foot-Morph-Release-805030301
Excellent job Necriseye! I'm with you....I had to make my own foot morphs. I really don't like those grooves in the balls of the feet. Congrats to you on a job well done.
I feel better about my own feet after reading this post. I have pes planus (flat feet) that are 12 EEEEEE with very stubby toes (I think someone referred to them earlier as Shrek feet). I doubt I will see any feet like mine on a 3d character, but I would like to see flat foot morphs on a couple of my characters. Necriseye has inspired me to try my own morph when I have some time to devote to this.
Siciliano1969! Those soles are fantastic and so realistic! Do you intend to make this morph available???
Hey mlominy, I just might! Keep you posted!
I'd be interested as well. ^^
Hmm excellent job on the foot morph, particularly with the toes my friend. Glad other people are spearheading this issue with me, I felt pretty lonely for some time haha.
Is that hd detail your own or is it part of another morph? Would be great if an artist with access to the HD tool was working on this too.
The new girl Gabriela has really nice detailed feet! :)
I've seen the new Liloo HD comes with an interesting custom foot morph. Does anyone know, if it can be applied seperately to other characters?
There's a "Liloo feet add/remove" listed on the product page, so there's a good chance.
Liloo HD has very long toenails. Don't beautifully. I do not like such toenails. No one knows how to make them short? Like that