Teuf-Teuf : the bottom halves of the seat goes back to its origin when moving the whole seat
Hello,
I'm speaking about this product, Teuf-Teuf, by @3djoji.
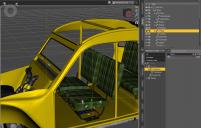
I was doing a tour of what was possible with it and when I tried to move the front seats, they initially moved as intended, but once I stopped clicking on the dial, the bottom of the seat I was moving went back to its origin. They both have the same problem:
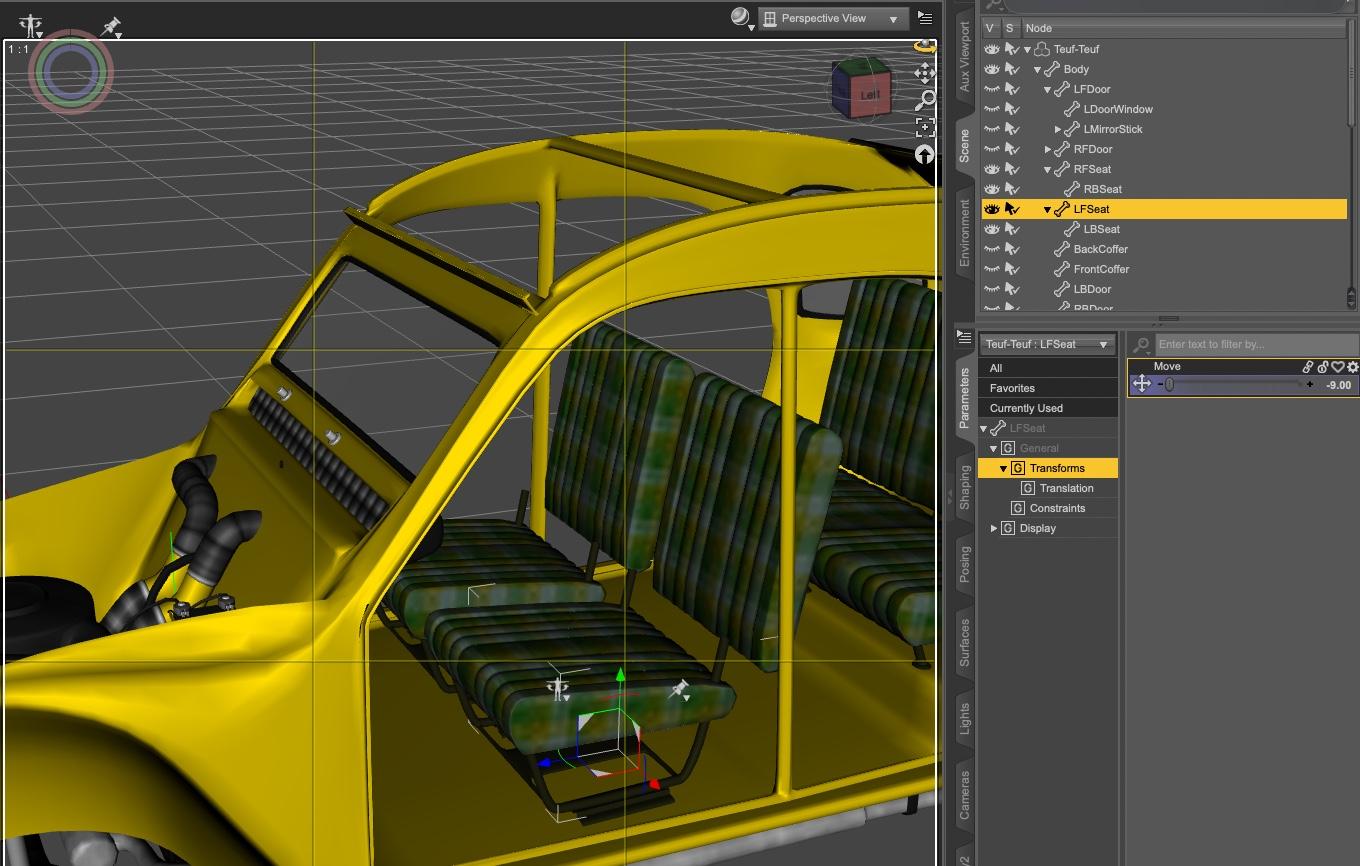
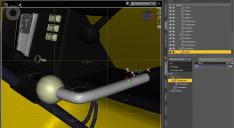
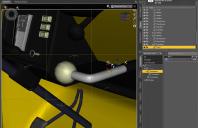
I think I checked all the other bones of the car and another one has the same reaction, the 'cmd1' bone (the gearbox maybe, I don't think I have been in a 2CV since I know how to drive). The first picture shows what happen while moving the cm1 thingie, the second shows what happen the moment I stop clicking.
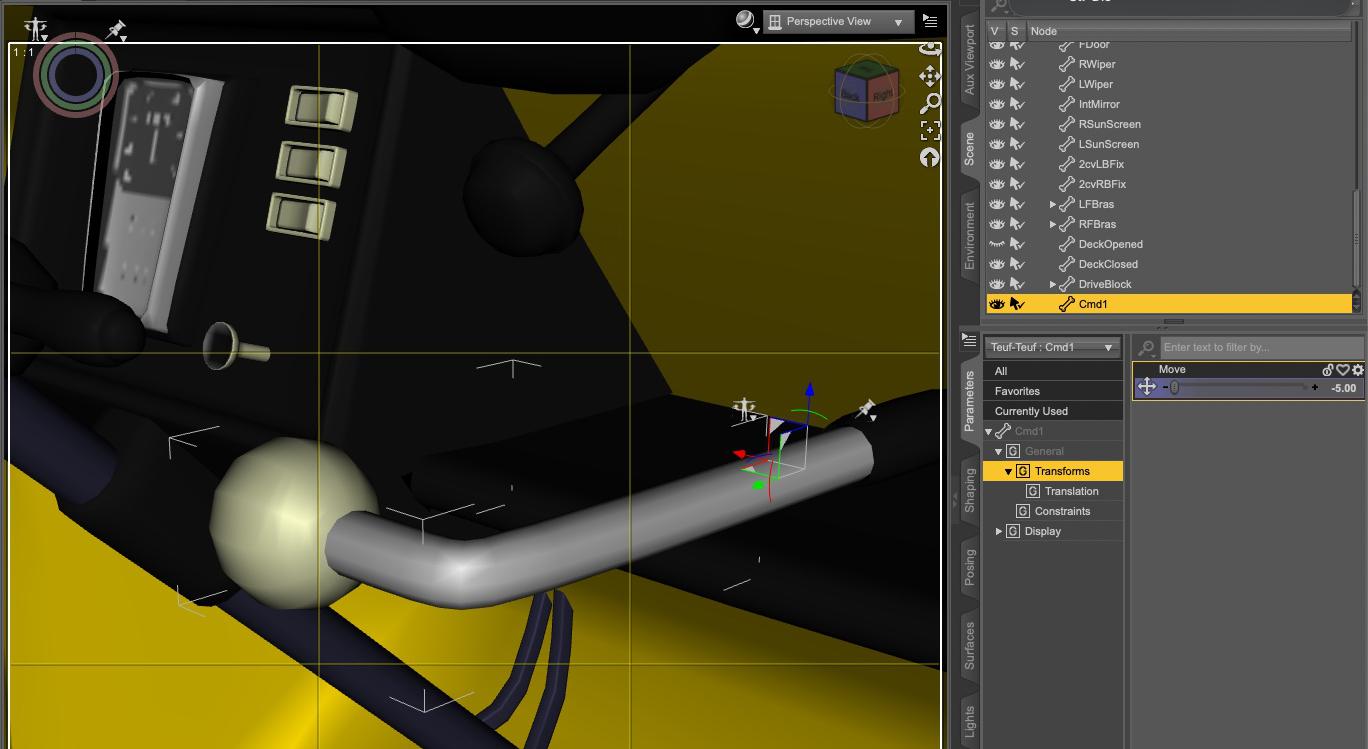
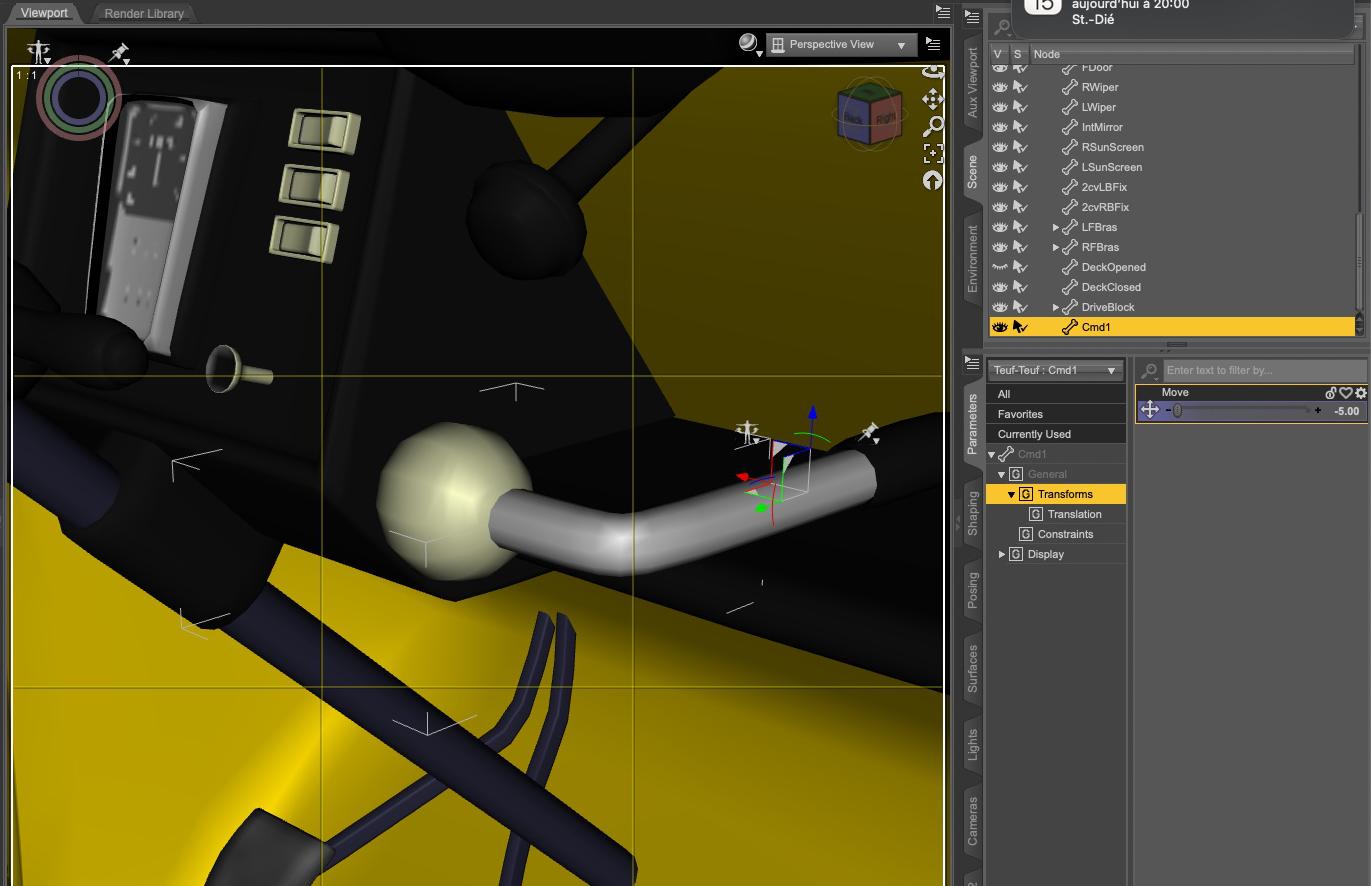
I suppose there is a problem somewhere in the way the bones are set, but I have no idea where to look. If someone's has an idea, I'm all ears 
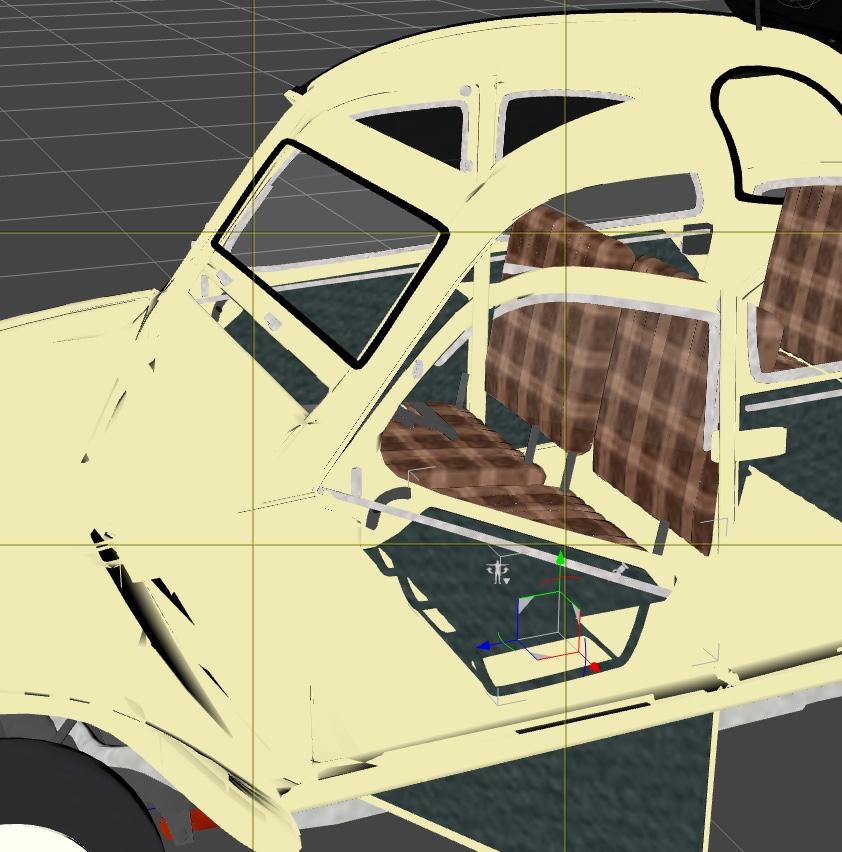
Bonus question: does someone know why, once an iRay mat is applied, the whole body becomes a mess in the viewport ? (it's more for curiosity sake, using 3Deligh mat for posing the scene is a working solution) (they look fine in iRay preview):




Comments
Yeah, there are a number of weight-mapping and rigging alignment problems on poor Teuf-Teuf. I took notes, but I don't have time to explain it all now. If you are familiar with the Weight Brush Tool (and weight-mapping in general) and the Joint Editor Tool (especially for the crooked console switches), you can take a look and see what I mean.
Texture Shaded preview of Iray materials has always been a bit of a mess, especially with transparency maps (half of the surfaces have opacity cutout maps).
For the seats, the weight map for the Body node includes the LFSeat and RFSeat (including the frame underneath), which prevents the seats from staying in position, because the seats' own weight map is still in play. That's why they can move with the control, but snap back when you let go.
So, start by selecting the Body node in the Scene tab. With the Weight Brush tool go to Tool Settings->General. Under Weight Maps, select X Rotation, and you will see that most of the vehicle, including the seat bottoms and the supporting frames, are bright red with weight (the seat backs are not). Using the Geometry Selection Mode in Tool Settings, select a polygon on each seat bottom and one polygon on on each seat frame (with the Body node selected, not the seats) then hit Select Connected (CTRL * or right-click in the viewport and Geometry Selection->Select Connected). The whole seat bottom and support frames should now be completely selected. Right-click in the viewport and go to Weight Editing-> Fill Selected. In the dialog, dial the amount down to zero and Accept. Back in Tool Settings, repeat for the Y and Z Rotation maps in turn, and set their weights to zero like the X Rotation. (The Scale weights appear to be okay). The seats have their own weight maps, so now your seats will stay in place when moved.
For the CMD1 lever, do the same sort of thing for the silver parts of the lever (the handle itself) but not the black sleeve where it goes into the console which is all part of the same mesh (Select Connected will select too much). The X, Y and Z Rotation weights must be removed from the Body Node for the Cmd1 handle polygons (again, with the Body Node selected). The Cmd1 node has its own weight maps that will function properly after the correction.
Next, the left hand-right hand drive settings. The weight map for the entire console (most of the Drive Block node) is set with the Body node weight maps and needs to be cleared. Once again, with the Body node selected, choose a weight map, select all polygons on the driver's console that are red (Console, steering wheel shaft, button housing, instrument flange and glass) and fill with 0.0% weight. Repeat for all three rotation axes. You'll know you got them all if the Drive Block stays on the right side (on the left by default).
"Cmd8" looks like a starter button, but it doesn't move (the bone does, so weight mapping again). Clearing the weight on the Cmd8 mesh from the parent (Drive BLock) fixes that, but the movement doesn't follow the bone axis if using the Parameters pane, but does if using the Universal tool locally. Showing the hidden parameters shows that there is Y movement with Z (Push) control that is missing from the slider control. That would need a new ERC, but the effect is minimal, really. There is a little X (0.001), but that is due to bone alignment.
"Cmd5" is a rocker switch that is off-kilter, and doesn't pivot properly. Just needs a little alignment on the bone (set Y and Z Rotation to zero with Joint Editor, like the other two switches).
I believe that is all that I found. Good luck...
(Sorry no screen shots, that would need, like, 10-20 of them)
... and don't forget to Save As... -> Support Asset -> Save Modified Assets, or you will lose your mods.
Thank you for your precise explanations
I'll follow them and see if I can fix everything (I already fixed the seats, but just selecting the geometry was painful in such an enclosed space...).
The face groups seem to be correctly set and selecting the relevant face group was easier to get all the needed polygons selected before emptying the weight map on the body bone.
I think I fixed almost everything you spoke about (I did not change the cmd5 switch).
Yeah, there's more than one way to select polygons. Anyway, glad it all worked out.
I think this was possible because normalisation was off, in Tool settings>Binding when teh Node Weightmap brush is selected. Thank you for the fix - I had looked yesterday but couldn't see the root cause.
I figured that was what happened when it was converted to DSON from the original Poser version.