I'm back! Awesome things are coming to Daz!
 ParallaxCreates
Posts: 468
Hi everyone, I'm back.
For over a year now I have been furthering my education in the industry pipeline of production as a professional 3D Artist. I'm currently taking classes in anatomy and it's great! Once I complete that portion of the pipeline I will come full circle as a 3D Character Artist for films & video games.
The two pipelines are almost identical with one differing in high poly assets while the other focuses on optimization. In the last 16 months I've become proficient in ZBrush to the extent I create everything in Z with the exception of rigging and texturing though I sometimes polypaint textures in Z.
ZBrush has become my 3d software package of choice. I sculpt & polymodel Organic and Hard Surface models in Z. I create my UVs (if suitable) in Z, retopologize and of course create my high poly details in Z as well. It's my home :)
I now use Maya for rigging character and component rigging. I also retopologize in Maya, create UVs and setup material zones. I mostly bake my high poly details in Marmoset Toolbag but I sometimes use Substance Painter for baking as well, it really just depends on the asset.
I still texture in Substance Painter as I did before my educational detour but I've learned so much more in terms of masking, material IDs and tricks on how to use them and hand painting techniques.
Lastly, I wanted more tools in my kit so I also learned RizomUV, Nvidia Omniverse and Blender. Blender is rather redundant since I everything else I use does what Blender does or better but, I've grown to love it's community and the surplus of addons. It's so good!
So, what does this mean for you?
I'll still be creating my signature 3D Jewelry products but I'll be bringing a lot more to the store in terms of high quality & optimized assets. The day of 50k polygon clothing items are no more. Nonetheless, I sculpt folds and fabric details in ZBrush now too and combined with baking later on in the process makes for some incredible results.
There are projects that I will be uploading to my Portfolio on Artstation (https://www.artstation.com/parallaxcreates) that I can't release here. So if you see something there that I haven't announced for Daz via my social media accounts then it's a Portfolio piece. I practice everyday in ZBrush and close the circle often so what is produced from that excersize is likely to be my next product(s). This will work with schedule moving forward.
Thanks for reading, stay rendering!


Comments
Congratulations on your upgraded skills! Your newest product caught my eye immediately because I have an Eyes Wide Shut-style mansion scene. Also, I was just wishing there were a way to get shoulder points, folds and wrinkles into the sleeves of IH Kang's otherwise excellent jackets and coats.
Thanks for keeping us updated, and I look forward to seeing more of your increased prowess in action.
Thank you for repling, that Eyes Wide Shut scene sounds enticing. In regards to IH Kang's jackets and coats, it's pretty simple to do assuming you have/use ZBrush because you can use GoZ.
Here's how:
1. Load a clothing asset into your Daz Studio Scene.
2. Select the clothing asset, then go to File > Send To > Send To ZBrush
3. Once the asset appears in ZBrush, Subdivide (Control + D) the subtool (the clothing asset) till you at least reach 1 million + points or until you reach your desired resolution.
4. Sculpt in folds where you need them or use one of the many ZBrush Cloth Wrinkle & Fold Brush Packs found via Artstation if that's easier for you. I just sculpt them in using Dam Standard or the Standard Brush, or by making alphas in ZBrush's 2.5D mode.
5. Once you get your details in, bring your Subdivision levels back down to 1 (hit Shift + D till you get down to the original number of points).
6. Once at the lowest SubD level, go to your Tool Pallette > Normal Map, and make sure the buttons Tangent, SmoothUV, SwitchRG and SNormals are pressed.
7. Then hit Create Normal Map, this can take some time based on your PC setup.
8. Once done, hit Clone NM and go to Texture > Press Flip V and export.
One thing to note, those steps are based on the assumption the UV Islands are packed into one UV Set. If not, you may get overlapping results.
Hope that helps!
I've never used ZBrush, but thanks for the detailed step-by-step (my preferred method of instruction). Hopefully, as a novice I won't run into some terminology differences that pothole my path. I'll look into this and price a subscription. Thanks again.
You're welcome!
Thanks! It makes me so happy that there are artists out there I can share my interests with. It's an artistic connection and that makes it so special. I'm finishing my anatomy classes so characters are on the horizon as well!
Very good Zbrush tutorial, we can always use more detail in clothing items. I would love to see some sort of demon mask from you one day, perhaps with morphs to change horn length and shape and material zones to hide areas of the mask to add variety. I have a lot of demons that could use something like that. ;) Nice to see you motivated about your upcoming creations too!
That is a lot of dedication. I hope you are well rewarded.
Sure thing, thanks for reading it I hope it helps!
Guess what?
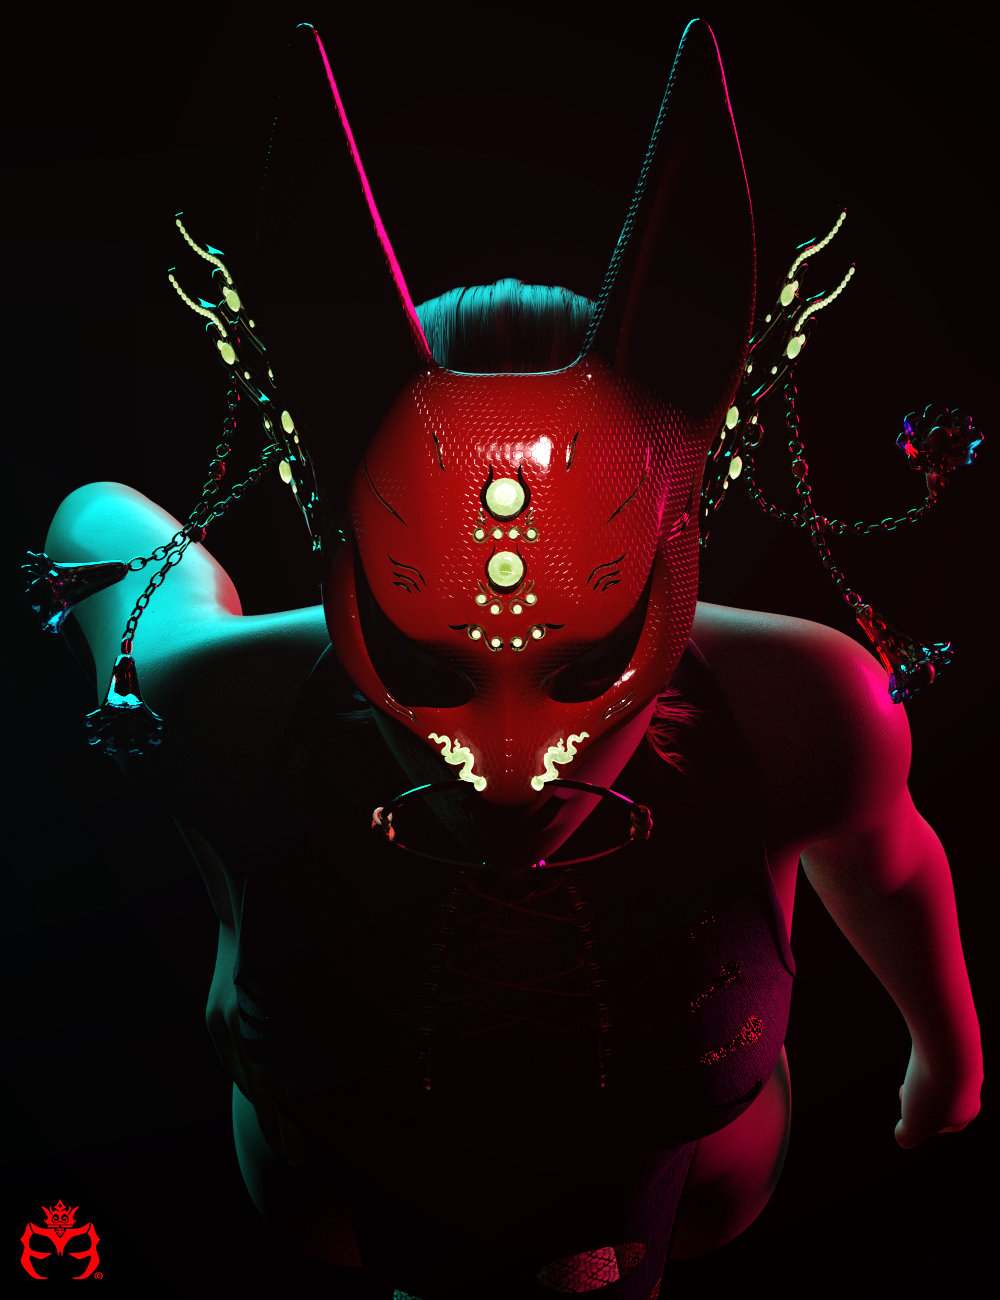
You must be spying on my computer or something because I sculpted a mask 2 weeks that's demonesque. The style and design differs from the same Oni mask we see everywhere online. So it's different and will feature my signature chains and jewels that I create :)
Thanks! I appreciate you for being kind :) Have an awesome day/night
Ah wow, sounds great! I look forward to seeing it here. :)