Adding to Cart…

Licensing Agreement | Terms of Service | Privacy Policy | EULA
© 2025 Daz Productions Inc. All Rights Reserved.You currently have no notifications.

Licensing Agreement | Terms of Service | Privacy Policy | EULA
© 2025 Daz Productions Inc. All Rights Reserved.
Comments
terrific result I don't6 think it needs tweeking :)
One thing I have tried in the past is take the coverage pass , then duplicate it.
In the duplicate layer you hit it with noise, then
bo back to the first layer, select the white space, go back to the second layer and use that selection to delete all the noise from the area that isnt directly over
the underlying line work.
you are then left with a mottled line instead of a steady grey line -
yopu can duplicate this and add a eg graphic pen filter to the line and tweak the opacities of all the lines - the idea is to make the line less uniform
you can also use this idea on eg shadow pass
thanks for those tips, I've had a play with the volumetric multipasses but not always successfully
ah thanks for that, that's a great challenge to explore once more - must have brain damage (already) as I forgot about it!! gah gah
Thanks HW! Maybe they built scared into the character, as it was the default face pose. :)
Like you, I forgot that Challenge 44 had render passes as a constraint. I was very busy that month, and only had time to finish one render. There were two categories, and I picked the one where I didn't have to use any passes. So, I have still never applied a render pass in postwork.
It does seem that way, but I use those globes in scenes and render animations onto them for use in my postwork. With Fusion, I build layers and adjust them according to... well... anything I can imagine - like a render pass, for example.
Eric Westphal did a wonderful tutorial a while back using the UV Coordinates to drive volumetric fog density within Fusion. I'm not savvy enough to do that yet, but I can use the atmosphere passes for quasi-volumetric effects when used with filters.
Awesome stuff you all!
Just as an example of the spheres thing, here's how I set up The DigiVault's Stardomes to work with my production:
This first image is outside the absolutely Gigantic Sphere to show the texture. Note the shader browser below. This is a shader folder I made which has one shader for each of his texture maps. But that's just a preset beginning. I've done successful experiments using his Stardomes like this, and using some of the maps to drive transparency, and using these globes with Starry Sky for Carrara for some twinkle. But using msaps in transparency like that also allows us to drive more than one of these beautiful domes simultaneously for different effects.
Very cool is the fact that these Stardome maps are truly immense. So turn on Textured view to select the rotation of the dome, getting the right backdrop for the scene. Looking around and trying different maps we can swim through nebulous clouds, get dangerously close to a wormhole, explore within the remains of some sort of explosion that has already occurred, etc., He really did a fine job on these textures!
The second image is looking through my default Camera 1 for the scene preset.
My Carrara uses a different browser structure now. When I'm looking at my default Scenes tab (untouched after carrara opens) I'm looking at all of my various base scenes that I use. The library in the Scenes tab runs my list of various scene types that I save, and the Native Content scenes folder at the bottom - even though I use that quite a bit as well. The cool thing I've discovered about adding the Scenes folder from Carrara install directory is that everyone's added scene folders show up in there! :)
Sorry for the derail :|
Thanks Headwax. The reason I started making my own alpha mattes is because I never understood how to combine a selection from an Object Index pass with the Coverage pass to make a clean extraction. I can output the Object Index, make a Levels adjustment to see my objects, use the Wand Tool to make a selection and isolate my selection, but like most passes it is anti aliased.
From what I understand, from that other thread, one needs the Coverage pass to "smooth" out the jaggies, but to me the Coverage pass is also all jaggies - bluring helps but my attempts last night, even cranking up the blur, still showed weird edges. And then, combining them how? My test had simple primitives but some overlapped, which caused a bigger brain pain dilema. I'm so confused.
I'll provide some pictures later this afternoon showing my problem. I'm pressed for time in the morning (like right now) and my experiements last night were atrocious.
I noticed the same thing about the large pixel jaggies. That's actually what drove me further into rendering to alpha
The globe project above needs to remain quite distant - even better a bit blurred due to the jagged pixel syndrome. Perhaps if I rendered at much higher resolutions....
Thanks for the suggestions. Very promising.
So. I want to try this technique animated, and see about making a mottled outline to create an illusion of being electrfied (?)
I think it'll work, if I;m reading what you're saying correctly. If I'm not reading it right... I'm reading it right enough to try what I want to try! LOL
I think, theoretically, it should work. Cool idea!
Here is my latest flailing attempt to get a clean(er) matte from an Object Index pass. Putting aside the fact i could just render the cylinder on its own with an alpha channel, I think the whole point of the Object Index pass is the ability to pull multiple mattes form one image. The test here is to isolate the cylinder from the Object Index pass and merge it with the Coverage pass, which is supossed to supply the anti-aliasing, among other things.
So there is a Beauty pass, Object Index and Fragment Coverage. In Carrara I had set my render settings to anti-aliasing: Best, and both Object and Shadow accuracy to 1.
The Object Index comes out of Carrara looking completely black, so in Photoshop a Levels Adjustment was made to 'bring out' the objects - a cylinder on a plane.
Using the Wand tool I selected the cylinder and cut everything else out, leaving me with a horridly aliased image.
So, undo all that and this time I put the Coverage pass above the adjusted Object Index and set the Blend Mode to Multiply. Already there is visible improvement, but the bottom still looks pretty awful compared to the Beauty pass.
And if I Merge the Coverage with my adjusted Object Index pass, use the Wand tool again to select the cylinder and cut everything else out I get this.
I can save that as a selection and use it to isolate the cylinder from the Beauty pass, but of course, as you can see it still has problems especially at the bottom.
So, I clearly still don't understand how to combine the two passes to make a 'hand in glove' mask to apply to my Beauty pass.
I have some thoughts as to how to create a custom pass with multiple objects that should render out with the same anti-aliased settings as the Beauty pass from which one could extract mattes without having to render out multiple files of alpha passes. But it's getting past my bedtime here so those tests tomorrow.
I've never used render passes and tend to do everything in Carrara using what's available (including plugins by some of the excellent members here...)
FOR EXAMPLE

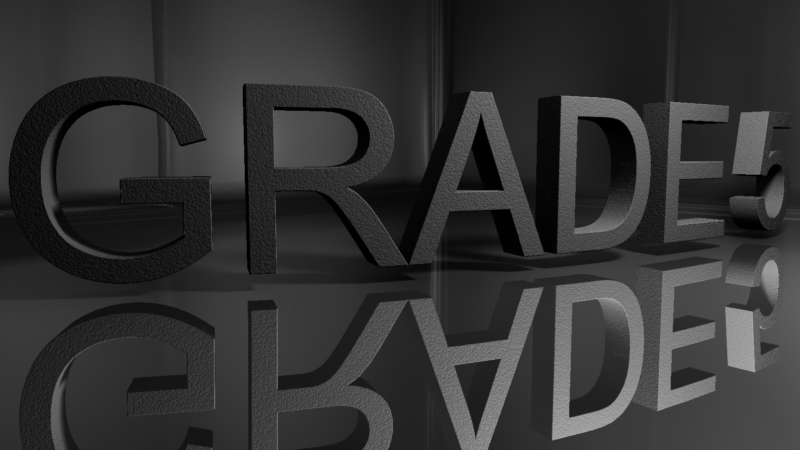
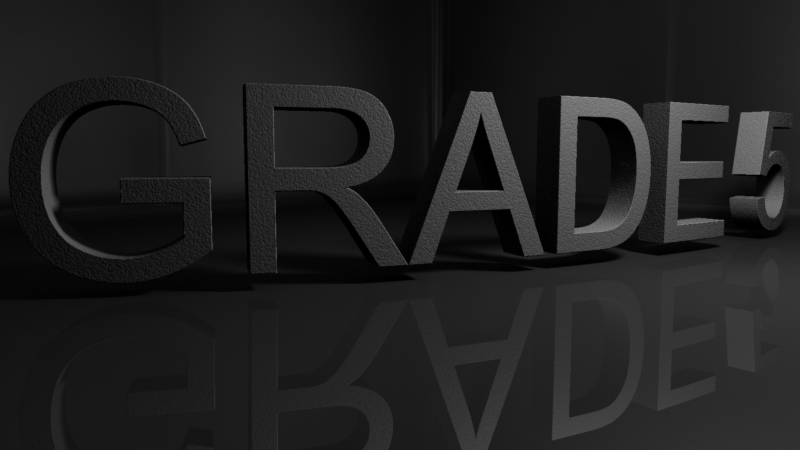
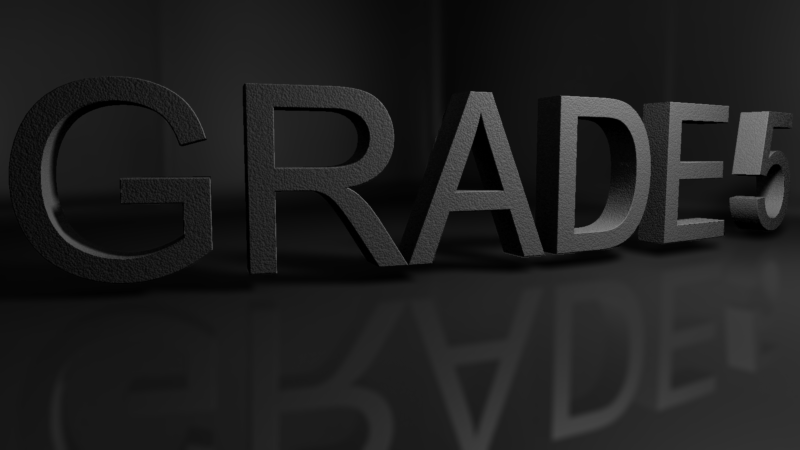
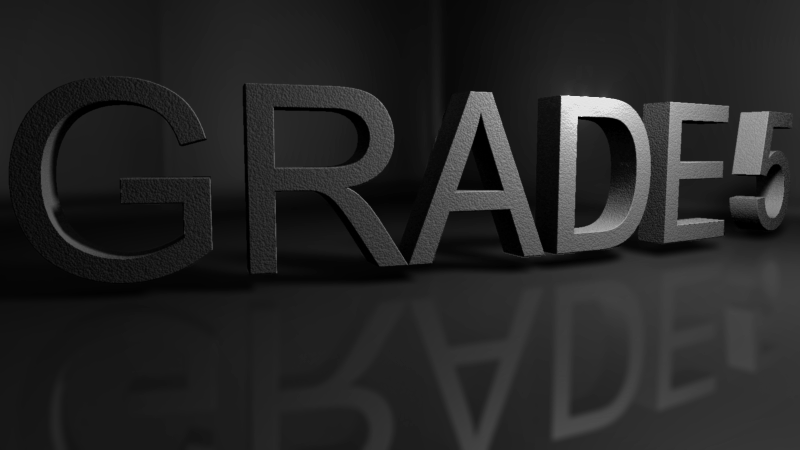
A simple scene needing adjustments...
1. The reflection is improved by changing the shader (I added a gradient to control how and where the reflection appears. Now the focus is on the text, not its reflection.

2. Further I used "blur object" to soften the reflection. Using blurred reflections is just a long, long waste of time and I'm not getting any younger.

3. Now I use the GMIC plugin to add a slight bloom to the highlights to really focus attention on the subject.

4. And finally, add some noise (GMIC used again) to make it look more like a photo... (you can click the following image to see greater detail) You may prefer to skip this last stage...
Fengari, good to see you posting again. I feel that GMIC is very underappreciated by the Carrara community.
While I agree with your philosophy of staying in Carrara in general, a superior illustrative/painted look - at this point - is more easily achieved with some degree of postwork. Exporting layers is a means of enriching the postwork experience. Headwax is the exemplar. To paraphrase him, "filters are nice, but at some point you have to get your hands dirty." :)
thanks Ub :)
Fengari you have been sorely missed great to see you as UB said.
sorry I forgot you psted this - life got in the way
ahh I had a few plays - there seems to be no way to get a clean anti alias with those near vertical lines - I tried making a huge render and it made no difference
you could probably do a soft selection to fuzz up the edges ... then sharpen them up again .... but hit or miss
FENgari - another +1 great to see you posting.
That bluring the object is a very clever trick! Did you add object blur to your floor plane? I just tried it but I'm getting unpleasant artifacting.
First image is no object blur on the pink plane, the second has object blur of 15%. You can see the blur effect is eroding the base of the objects and where the floor plane meets the backdrop. Substituting another flat plane for a wall / backdrop didn't help.
I noticed in your image the text looks like it is off the floor plane a bit, but even lifting my objects above the floor the object blur still created some artifacting where the floor met the backdrop.
No Blur
Object Blur 15%
Headwax - no worries at all!
Thanks for the the attempts and info.
I never got back to this thread either. I went down a deep rabbit hole involving RGB mattes. I need to go back and look where I left off but they work fine unless the mattes overlap each other. When you isolate each object you end up with, yet again, some gnarly artifacting where the objects overlap - a halo. From what info I could unearth this is not a Carrara problem, or a HitFilm or After Effects problem, or any high end 3D software / Compoistor problem, it is a fact of life pixel problem.
Need to gather my thoughts and some images to explain better.
More + from me in recognition of Fengari posting again. Hope all is well.
I appreciate all the tips, Fengari and DesertDude. GMIC does indeed have many wonderful filters that can be applied in Carrara's post render process. I wish I could remember and correctly apply all the tools in the Carrara tool box.