Renderpasses in Bryce ?
 Roland4
Posts: 0
Does anyone have experience with render passes in Bryce or is this not possible with Bryce ?
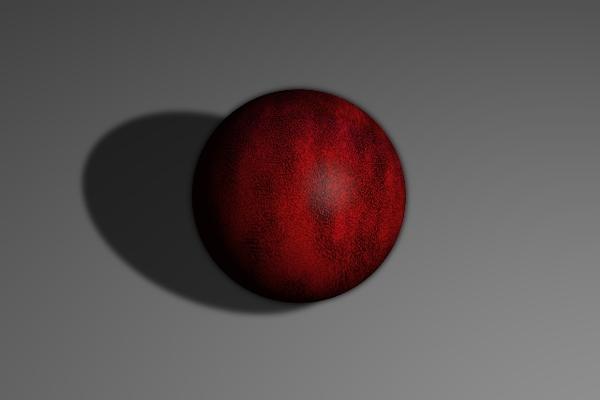
I ask because soft shadows need much render time and so i want render the shadow part extra. In this picture i have make a test to render the shadow extra. I have render without soft shadow and make it smoother with PSP but i think the result can be better.


SCE_Renderpasses_Composing.jpg
640 x 427 - 72K


Comments
The main problem is that there are so many ways to speed up the render times, that you may be better approaching it like that.
That would then depend upon what was in the scene you wanted to render.
In the simple scene you posted;
Make sure in the sky lab that the sun shadows are set to 100 (the default for most skies is 90 and the fact that shadows start off partly transparent increase render times). If you increase the shadows to 100, then set soft shadows, making the shadows start from solid will offset the soft shadow increase.
If you're rendering using the premium render settings (with the soft shadow box checked), you can reduce the 'Maximum Ray Depth' to 3 or even 2 (it's default is 6). This is found on the render options window under 'Optics' (3rd column along). This will speed up your render times and shouldn't impact on quality under most circumstances.
Experiment with the Rays Per Pixel settings also. As long as the setting doesn't give extreme noise (or more noise than you would want), render at the minimum you can get away with (surprisingly in most cases you don't need to go above 36).
If you wanted to render the pic in two parts (one for the object and one for the ground including the shadow).
You can do an 'Object Mask' render and use that in Photoshop or other photo editing software as an alpha channel to put your picture back together.
In this case, you'd do a high quality render with no soft shadows and then do a lower quality render and remove any texture mats from the object but with soft shadows turned on.
Then select only the object and do an 'Object Mask' render to create an alpha channel picture to import into a new channel in Photoshop.
The Object Mask option is found on the render options drop down menu just above the distance mask and altitude mask options.
Hope this helps.
Sorry, but if i have a scene with following comparison: with soft shadow ca. 1,5 Std. and without soft shadow ca.20 Min. But there are other advantages to render in passes, not only save render time.
It is a little better now. The second Picture show my passes.
So is this about render speed or not?
I've just run some tests with a simple ball and soft shadows.
Render speed difference is;
No Soft Shadows; 1 minute 50 seconds
With Soft Shadows: 1 minute 57 seconds
If you're getting vastly increased render times, it's because of your render settings (using soft shadows without TA for instance).
I was rendering with;
TA (true ambience) switched on and RPP set to 64 for both renders.
Yes and no (Sorry).
The main purpose of the question is render passes, possible or not and if yes how. The Scene above is an very simple example (for those who don´t know what is a render pass). the Scene above is very simple and this way i can not go if i have a scene with a shadow in a object itself like a cap. Render speed is sure one of the most used surpose, but i have more interested in render passes as only render speed, that was also an example.
The only thing i can use from your post ist object mask so i must do this not from Hand, thank´s.
Well you could try the same render with True Ambience switched on... It actually reduces the render time in most cases.
However, from your post in the Bryce Renders thread, I guess you're also trying to add a soft shadow to a glass object (one that is in turn filled with liquid)... that will always be quite crippling.
To answer the other part of your question about if render passes are possible...
Bryce does all it's calculations as it renders, it's always been notoriously slow (though as mentioned, there are things you can do material, lighting and render option wise to improve speeds) and it doesn't make different passes for different elements as your screen grab seems to show another application doing... sorry.
@TheSavage64
The example scene have no sun light, only a distance light. If you render the example scene and disable shadow and specular, the result is the diffuse pass. If you disable shadow and diffuse, the result is the specular pass. I´m not sure what i must do that the result is the shadow pass. I'll look in a book for a solution and if I get a good result i will report it. Thank´s for your help.
My 2 tries on compositing soft shadows:
0. original scene render time with soft shadows: 2:17
1. composite 1 sum of render times: 0:31
2. composite 2 sum of render times: 0:42
1. The approach was to separate objects:
- shadows on the white background
- background alone
- objects alone on dark background
- custom objects mask taking into account objects transparency (required for transparency and unpremultiply alpha from channel).
Shadow layer have to be grown with minimum or erosion (2 different names) filter, blurred and put under the object. You can notice I additionally turned off self shadowing of objects to speed up things a bit.
2. The approach was to separate lighting pass from the colour pass and blur the lighting pass only where shadows are present.
- full lighting pass with all colours and textures removed
- all colours (rendered as 100% ambient)
- shadows mask
- objects mask (to cut the shadow mask to not appear on the objects, actually it might be also useful in example 1 depending on needs)
The presence of environment fog wasn't very helpful, but again I got the thing solved by using 'white fog' to fade one of the multiplied channels (depth channel might be equally useful).
You can see from both examples that the (fake) caustic in the shadows was compromised, or the shadow's colour on the second one. In fact - it doesn't have to. There are some solutions for that, but it's only the matter what qualities are the most important and which ones you can sacrifice. In some other renderers that allow exporting raw passes the rendering is not necessarily faster, but it's rather a tool to allow more fiddling with the final result. The proposed way of compositing is different in the matter that we're sacrificing some elements to make the rendering faster.
I've shown only two possible roads on splitting things to speed up the rendering. The drawback is that you have to plan this earlier, already when working with the scene, make some experiments with simplified objects of similar qualities, prepare to split your file into several only on the final step (reassigning materials takes time and it's error prone), and be sure you want to do compositing at the end.
Link to composites:
http://dl.dropbox.com/u/104131615/passes_test.zip