Fitting 2 pieces of clothing on top of each other onto Genesis 1 with transfer utility tool
 launok
Posts: 793
launok
Posts: 793
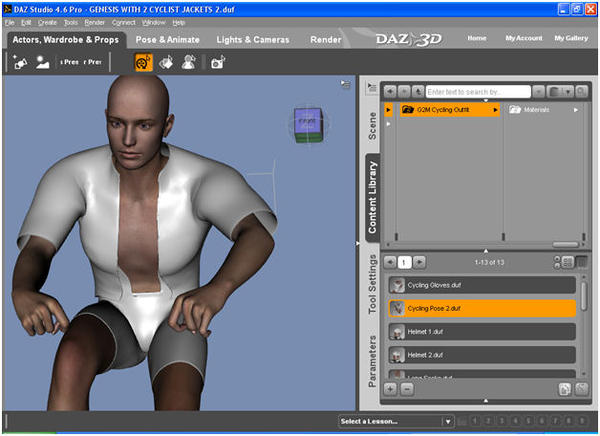
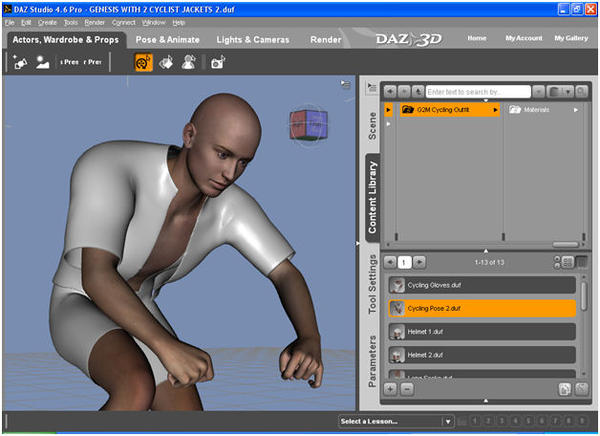
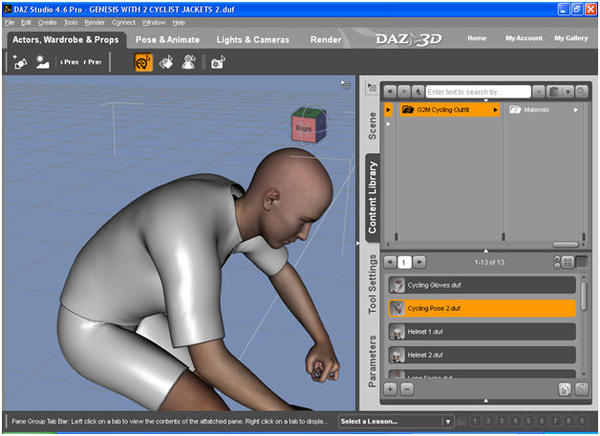
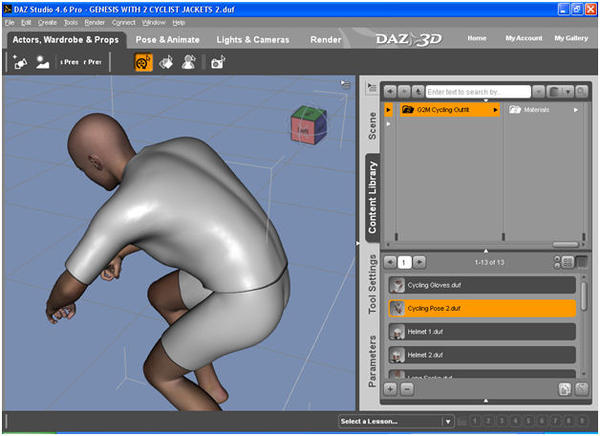
Not sure I have followed the correct procedures when I have used both of the cyclist's outfits on top of each other. It looks not bad, except the top jacket sleeves are too loosely fitted.
I can't remember if I have chosen shirt loosely or shirt tight when I have used transfer utility tool to get it to fit. The under vest was bodysuit tight.
Which is the correct method when fitting 2 pieces of clothing as in this case on top of each other? As you will see on attached images it seems ok, only sleeves too wide for cyclist jersey.
Also wants to add here that I have used scaling on top jersey first to get it to fit better over under vest before I have exported it as .obj.
Laura
Daz 3D is part of 
Connect
DAZ Productions, Inc.
7533 S Center View Ct #4664
West Jordan, UT 84084
Licensing Agreement | Terms of Service | Privacy Policy | EULA
© 2025 Daz Productions Inc. All Rights Reserved.
Comments
Getting the items to fit in the zeroed state is a matter of modelling, getting them to stay fitted as you pose is probably going to require adjusting the weight maps manually - and may require morphs. You can add a Smoothing Modifier to the top layer and set it to collide with the lower layer, though that isn't ideal.
Thank you for your advice. I am just start learning clothing so every bit of info helps!
I actually loses some interest by trying to play more with the 2 clothing sets but today decided to give it another go and somehow it worked after using the Transfer Utility Tool again. :) Somehow a bit of poke-through do appear but strangely more on the back of the pants and a teeny-weeny bit on the top front arm. The previous previews was with jacket without zipper which is now attached to jacket. This was and still is a mission. Credit to RoyGee who made the zipper in Hexagon! :-)
Next step will be learning uv maps and texturing.
I have tried to follow steps by Ben (ben98120000) on an older forum thread, to use d-form to add wind blow effects to open top jersey but it seems it can't be used if item has been fitted with Transfer Utility Tool.
I use DForm on all my clothing items AFTER using Transfer Utility, so it can be done Laura.
Hi Wendy,
Good to hear from you! I have tried the steps by Ben but somehow I am missing something somewhere along the line. Will you be interested in writing a tutorial and share at your new website, if in any way possible? Hint :)